So I have been trying to wait until everything is organized and I have EVERYTHING I want in my room before I share. But I've come to the conclusion that it will be a work in progress for probably the next year or so. That said, I've decided to just take some snapshots as is. So here goes.
This is the original space that I was working in, down in the corner of the basement. This is also the same space where my dad and brother did the room build.
And here is the new room!
This is literally the same corner where my stuff initially sat. As you can see, still much work to do. Eventually, I will have a set of 12X12 shadow boxes going across that high shelf to display my favorite work. Also planning to install a wire curtain rod under the shelf, running the length of it so I have more space to hang chippies and embellishments.
This is my little sitting area. Someday, I will either refinish this little table, or make a black and white striped tablecloth.
That blank wall that runs from the door to the end of the room will eventually be filled with various canvases with quotations about art and creativity. I have just started working on them. There will be about 20 of them, all different sizes and styles of transferring the quotes. But all will be the same color scheme.
This is the area for doing portrait photography. The wall to the right will eventually have a rack for my backdrops. Also, the backdrop stand will eventually be gone. I have a hoist thing I will install so the backdrops will be hung directly from the ceiling, to save space. To give you an idea of size, that piece of roll-up fake wood floor is 8ft.x8ft.
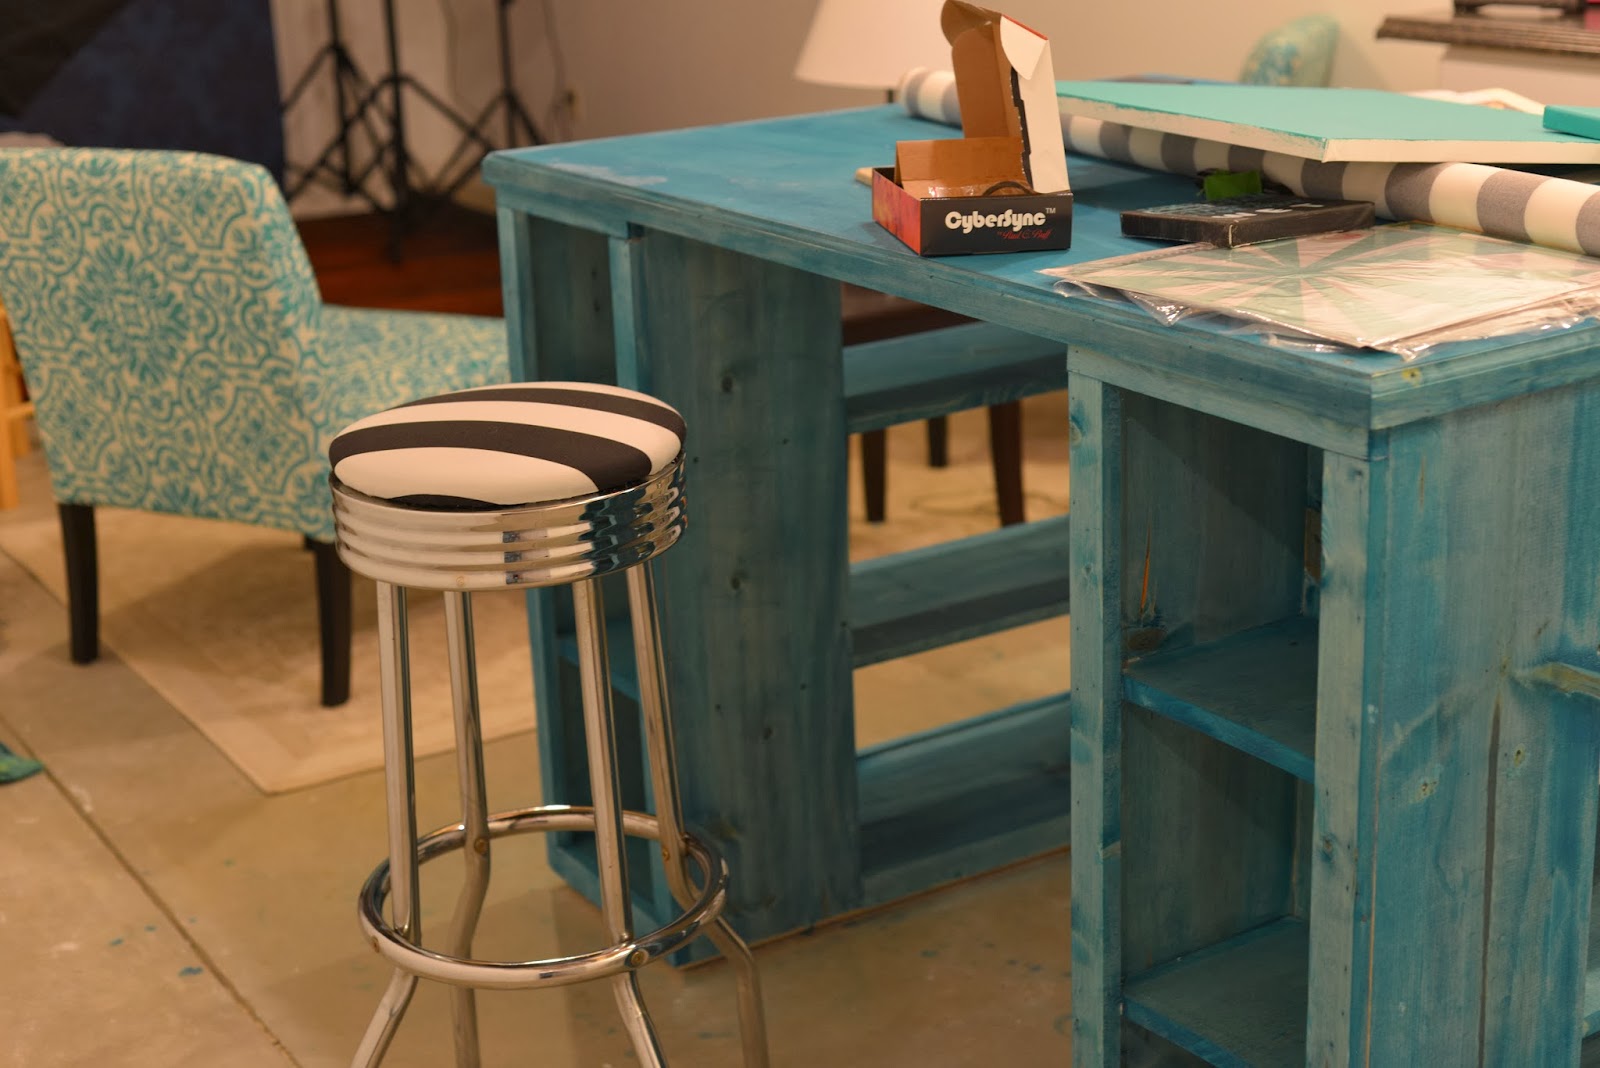
Finally, here are some of the little DIY projects that I did, aside from the staining of the craft table. Some little storage containers that I added coordinating ribbon to. I burned myself with that darned glue gun so many times!
This is a magnetic board that I made. It's 24X36 piece of galvanized sheet metal from the hardware store. I used spray adhesive on the back and pulled a piece of fabric taut, gluing to the back. I bought a cheap poster frame and removed the plexiglass, inserted the sheet of metal and BAM! Magnetic message board!
And finally, stools that I recovered. These were originally black on top.
And if you made it through all of that, thanks SO much for looking! I'm having so much fun organizing the space and am glad to share with people who won't say "oh, that's nice honey." Guys just don't understand...LOL.


Oh Aubrie, I'm seriously in envy !! This is GORGEOUS even not fully complete. If you can't create stunning masterpieces here then you never will anywhere.
ReplyDeleteWell I just LOVE it and it looks like we have the same favorite color!!!Awesome work girlie...enjoy it to the fullest!!!
ReplyDeleteSo gorgeous!! And so organized and functional~I am jealous!!!
ReplyDeleteThis ia fabulous Aubrie.....what a fantastic room....it looks super gorgeous with all your details and ideas, Love it!!
ReplyDeleteAwesome room Aubrie! Enjoy every inch of it!!!
ReplyDeleteBeautiful, beautiful! I really like your colour scheme and how everything is clean and white. Well done!
ReplyDeleteRosey x